The first step to create a successful push notification marketing strategy is to grow your subscriber list with the help of one of the most advanced push notifications tools.
OneSignal is the fastest and most reliable service to send push notifications, in-app messages and emails to your users on mobile and web, including content management platforms like Wordpress, Shopify, Blogger, Wix and others.
This tool allows you to gather your own push subscriber list as a separate activity or do that along with running your standard advertising campaigns.
The general idea is the following.
When users access your landing page, they’ll see a small popup on the page asking them to subscribe to push notifications.
They always have the choice to either Allow or Deny the subscription. By Allowing, they will be signed up on your subscriber list. After that, you can send them different messages that will pop up directly in their browser.
To get started, OneSignal account is needed. They offer a free plan which is limited up to 30,000 unique subscribers and only 1 message per push notification.
¶ OneSignal Configuration
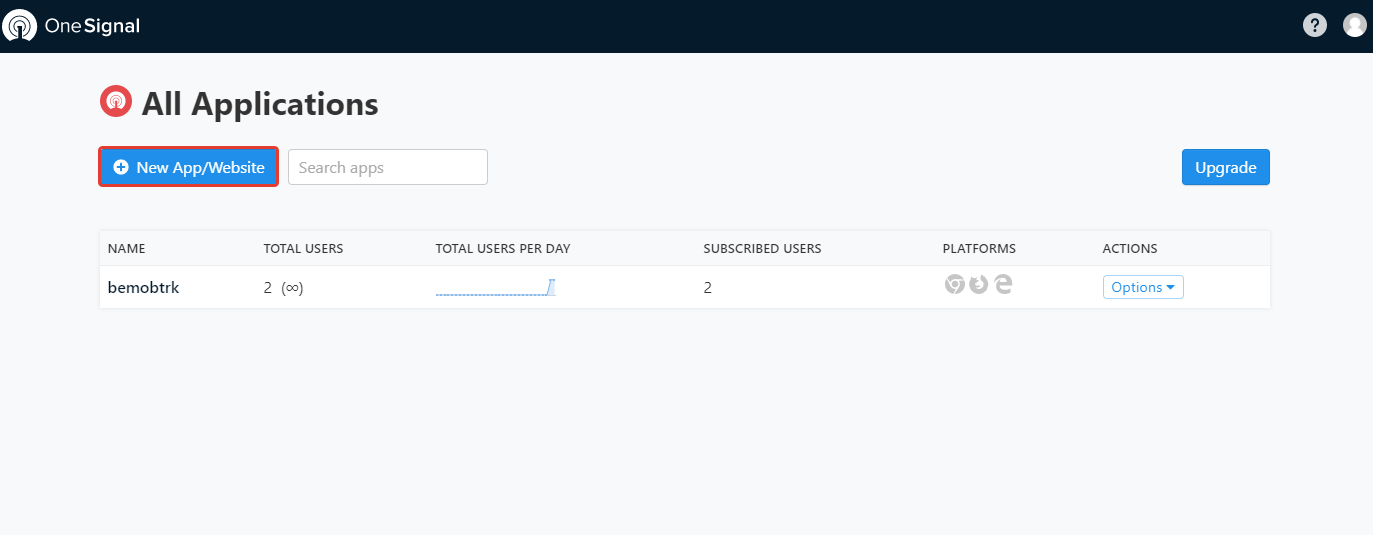
To set up web push notifications on your landing page, it is required to add your app.
- click on New App/Website button;
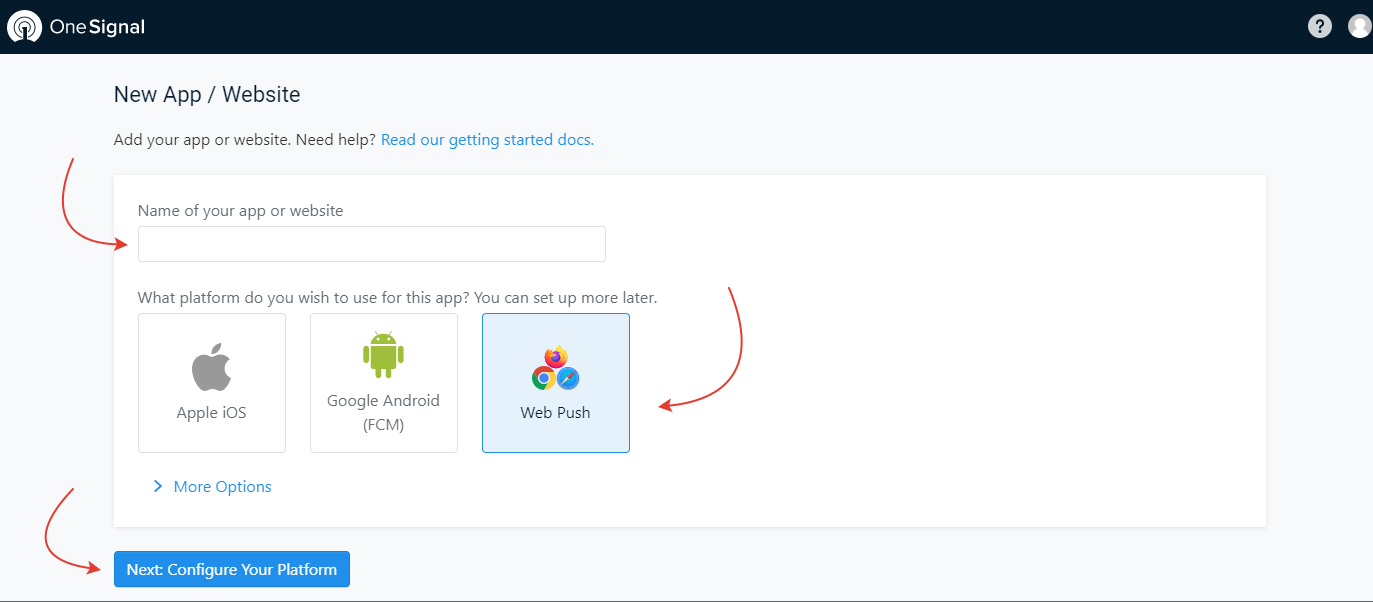
- specify the name of your App/Website;
- select Web Push;
- click on Next: Configure Your Platform button;
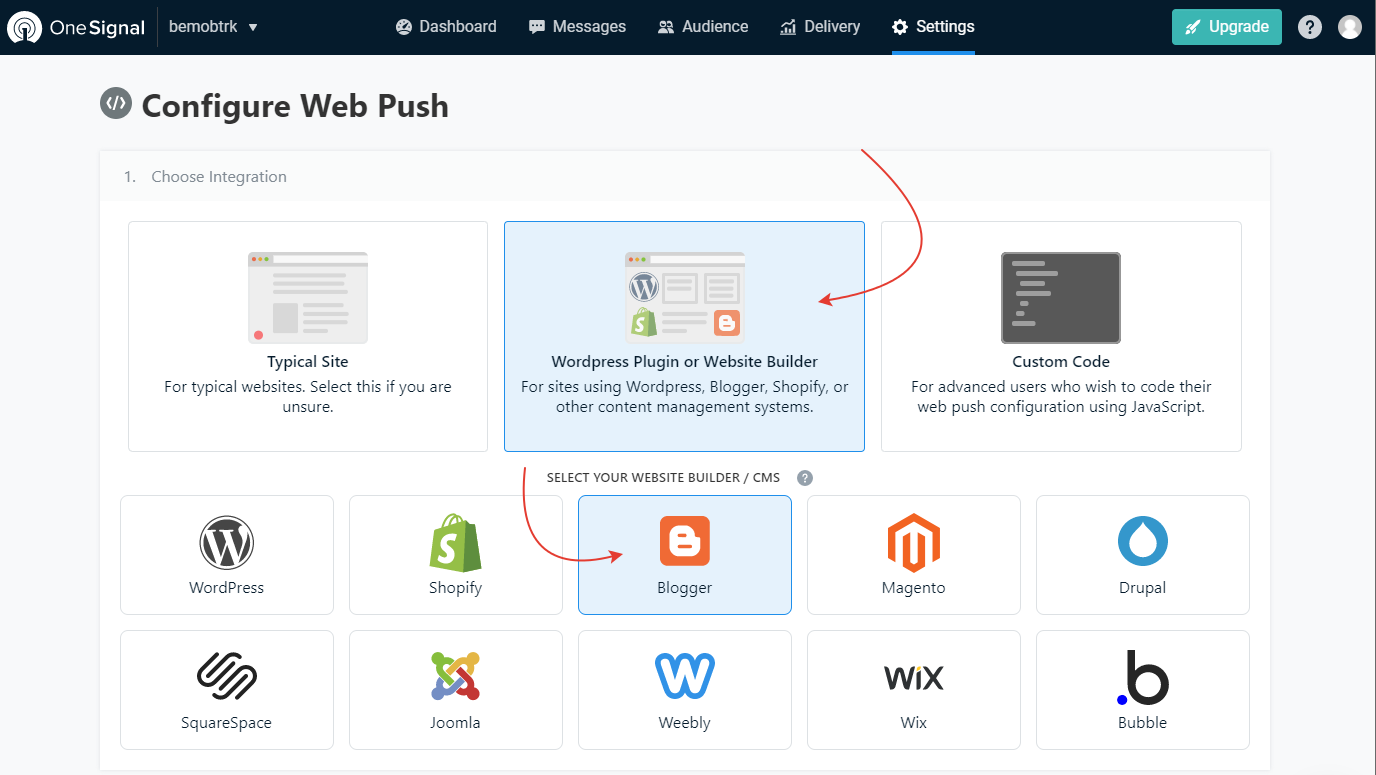
- choose integration;
We are going to use Blogger as an example, so we select WordPress Plugin or Website Builder and then Blogger.
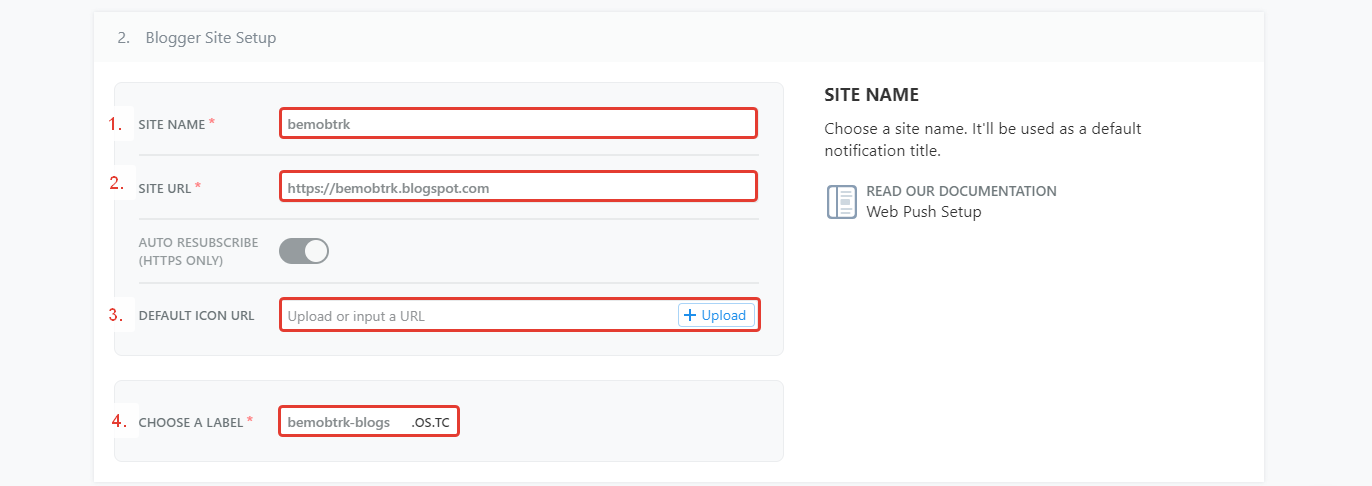
For Blogger Site Setup, perform the following steps:
- specify the name of your landing page;
- introduce the link of your landing page;
- upload or input a URL to a notification icon;
- choose a label;
The implementation with Blogger requires a unique label to be displayed in your notifications (applicable if you have less than 100 web users only).
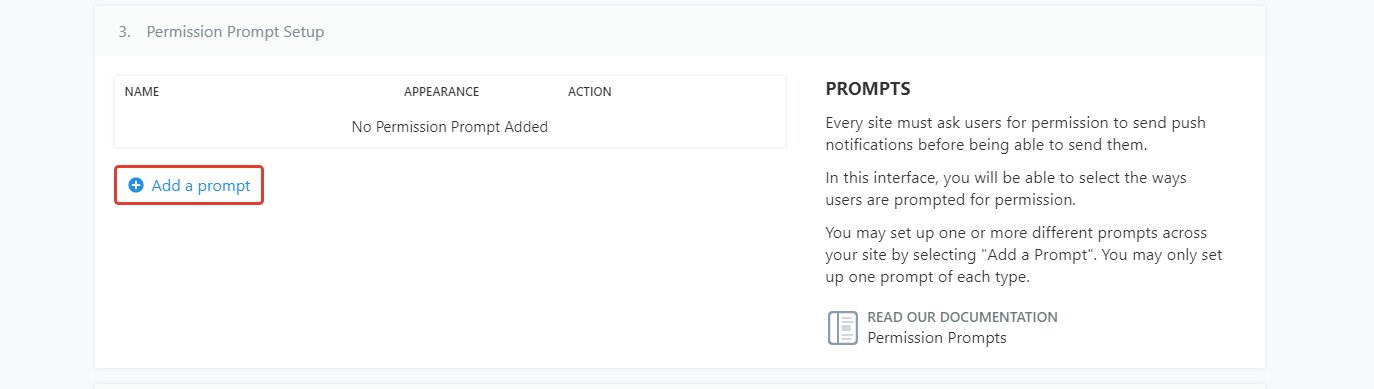
For Permission Prompt Setup, perform the following steps:
- click on Add a Prompt button;
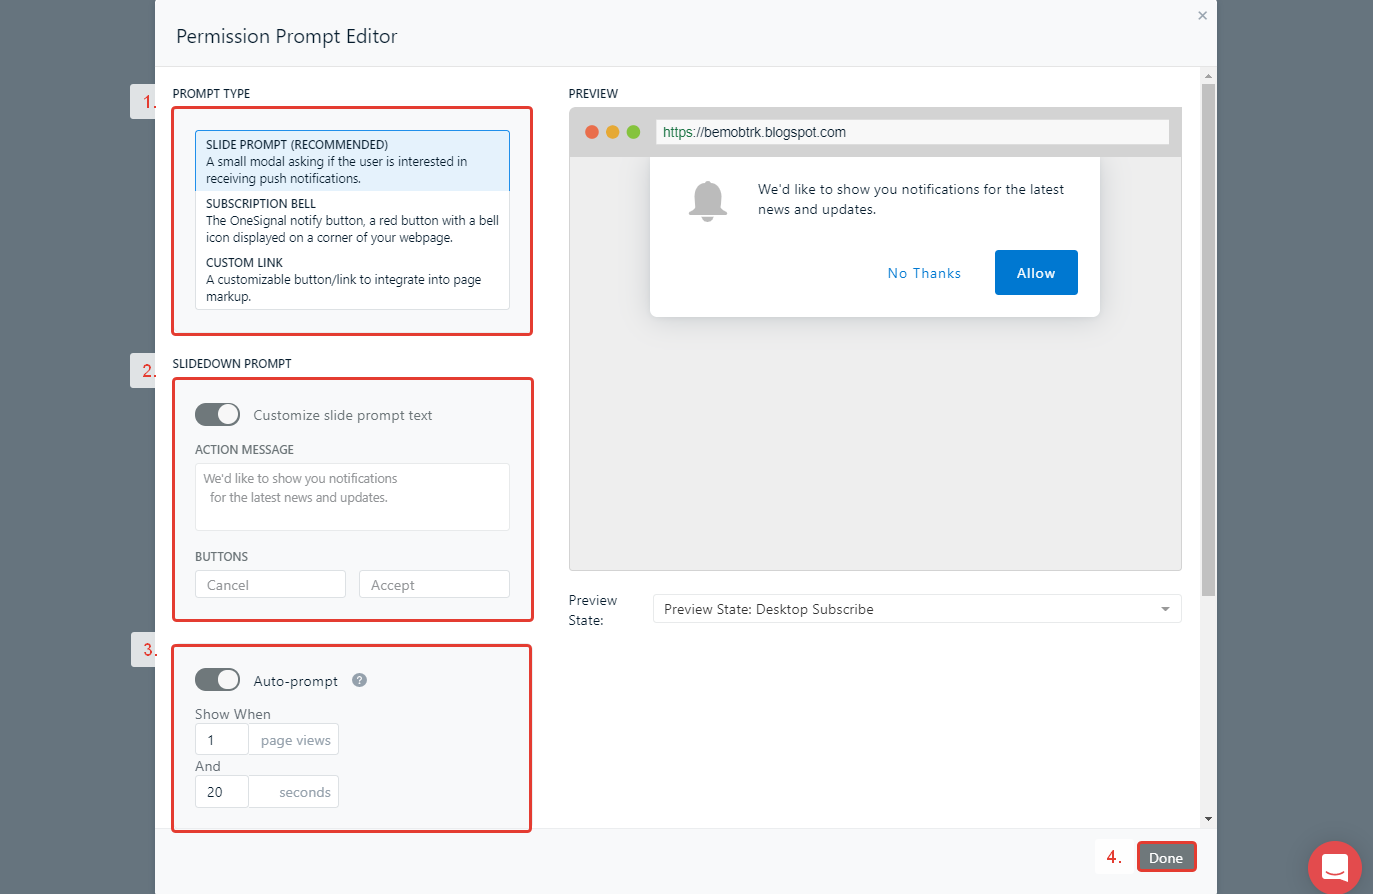
- select the prompt type;
- customize the prompt text if required;
- set the delay on the prompt if required;
- click on Done button;
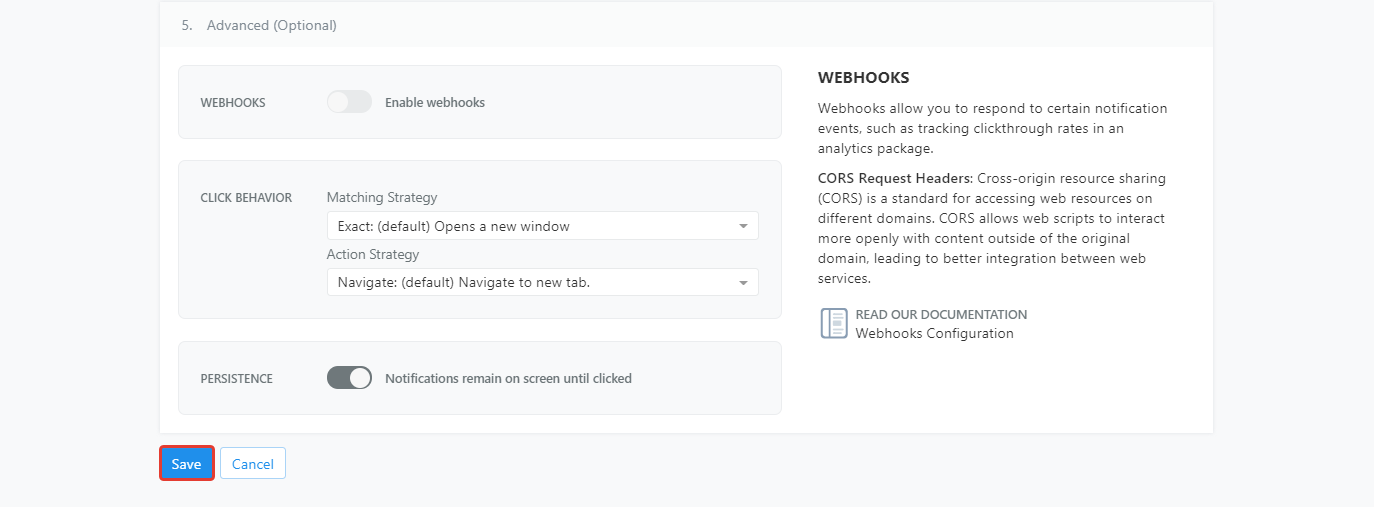
- save the settings.
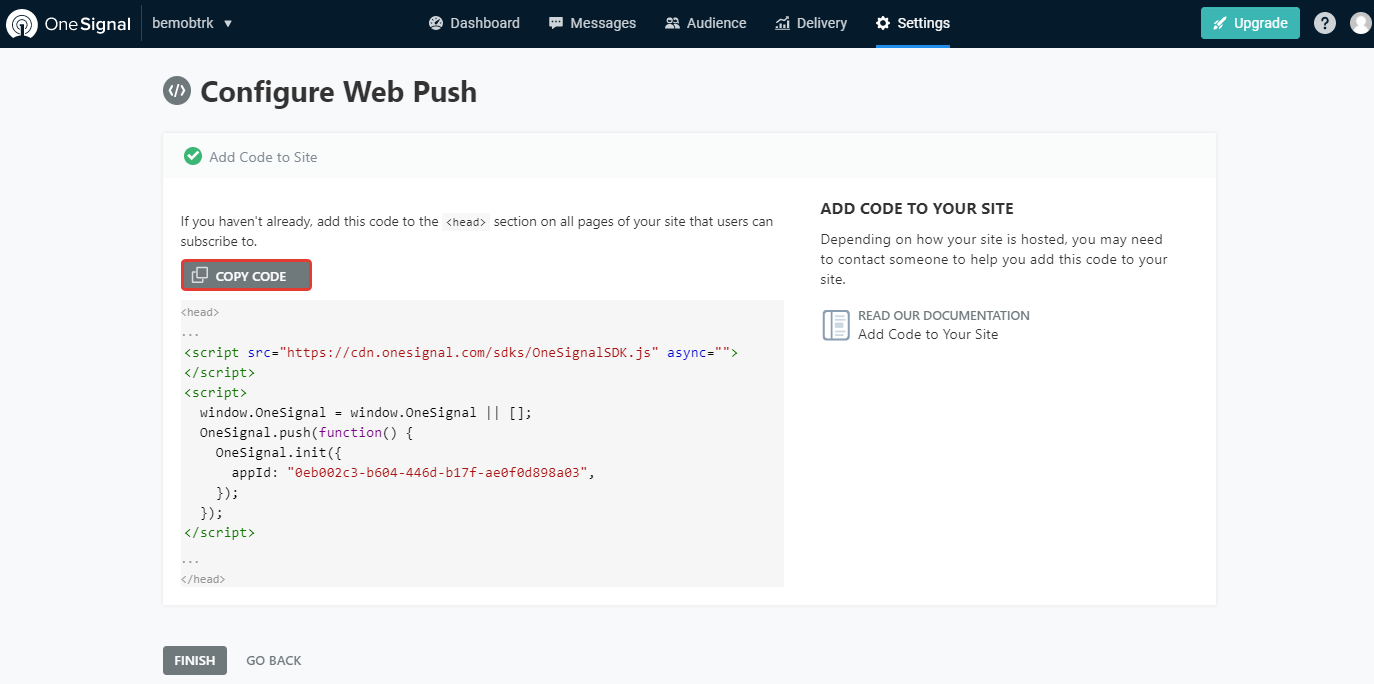
Once saved, you will get a code to add to your Blogger landing page.
¶ Blogger Configuration
To enable OneSignal on your Blogger landing page, perform the following steps.
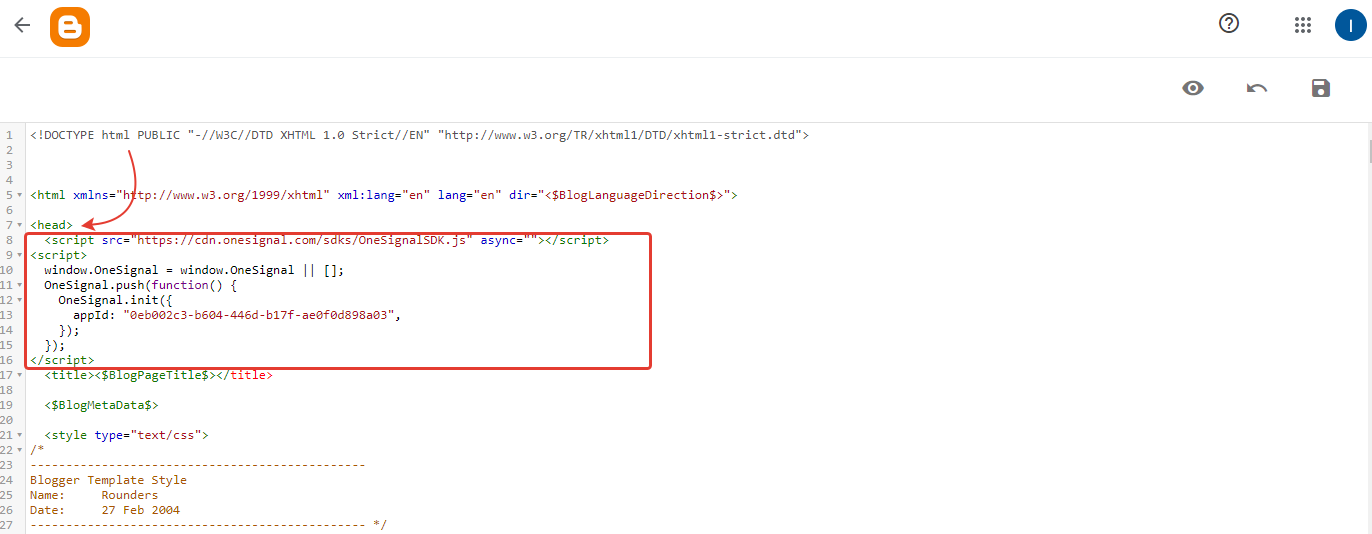
- copy the code provided by OneSignal;
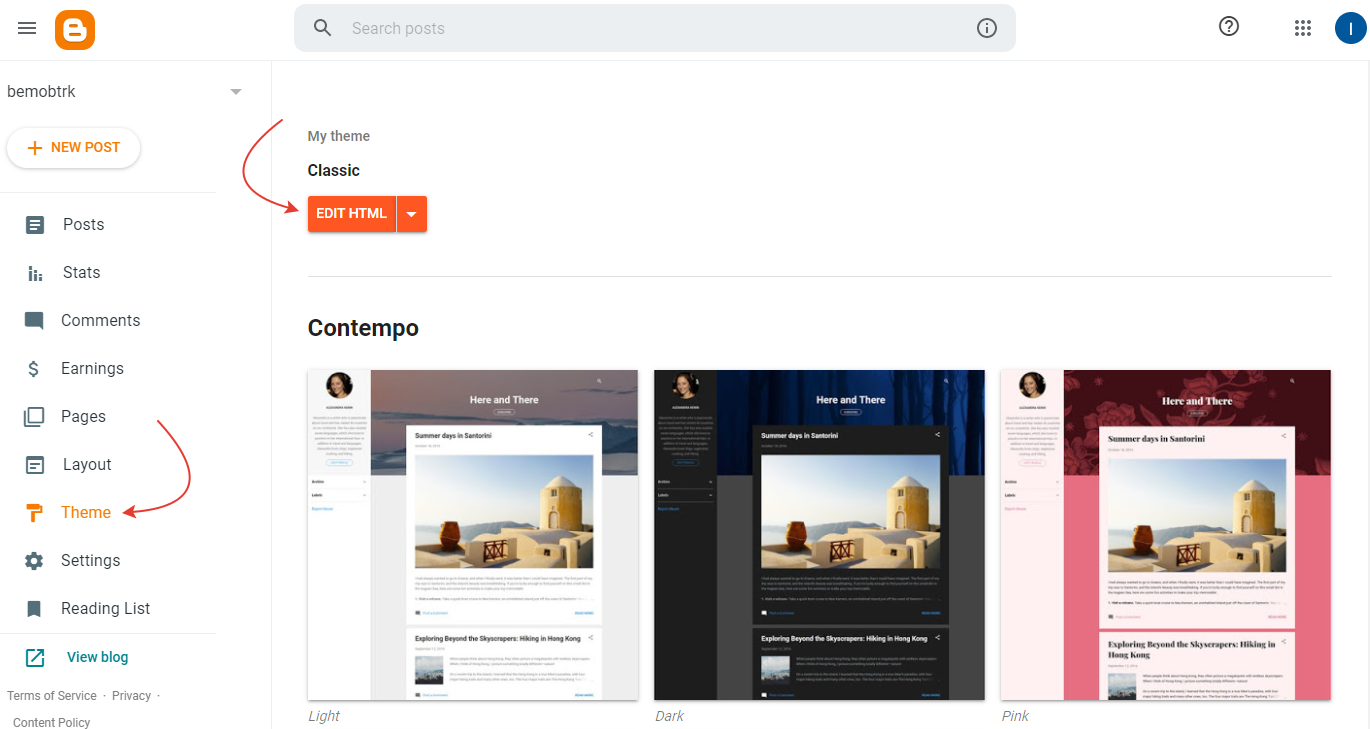
- go to your Blogger dashboard;
- click on Theme and then Edit HTML;
- place the code copied from OneSignal into the head section of your landing page;
¶ BeMob Configuration
Once your landing page with OneSignal code is ready, you can start creating your campaign with it in BeMob.
- add your landing page, traffic source, affiliate network and offers to BeMob;
- create a campaign;
- add click URL(s) or multi-offer click URLs to CTA button(s) of your landing page using this guide;
- use Campaign URL as the destination on the side of your traffic source.
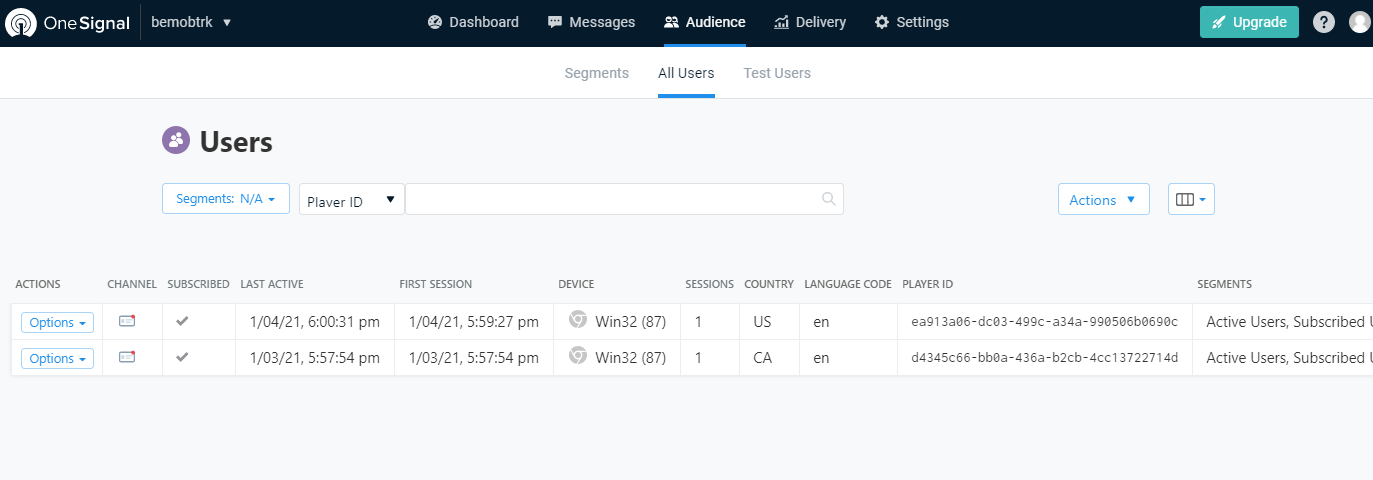
When you start running your campaign, all subscribed users will be displayed in your OneSignal dashboard.
If you have any questions contact support team via live chat or at support@bemob.com