¶ Why Landing Protection Is Required
A landing page is one of the most important elements of the ad campaign. This page allows to attract more visitors to your offer page and increase the conversion rate. That's why it is highly important for a landing to be eye-catching to gain visitors' attention within the shortest time.
The process of finding out the best practices for creating top-converting landing pages requires the significant time and money resources. However your efforts may become useless when you competitors are using a spy tool which allows to check on the highly-converting landing pages for further implementation in their campaigns.
It is always important to keep an eye on competitors, but from the other side, no one wishes to share their creative ideas for free.
With BeMob you can save your landing page from being stolen by your competitors through the spy tools. This can be done with a dedicated code piece generated from BeMob and placed in the body of your landing page.
Before you implement the scheme of BeMob Landing Page Protection make sure that the following steps has been done:
✅ you have the access to the code of your landing page;
✅ your landing page URL is added with BeMob;
✅ BeMob click URLs are added on CTA buttons of your landing page.
Once all these are solved you will need to add the security script into your landing and specify the dedicated token at the end of landing page URL.
¶ How to Add Security Script Into Your Landing Page
The dedicated security script generated in BeMob is preventing your landing page from the direct access. This is what is meant by landing page protection.
Your landing page will only be visible if a visitor goes through the campaign link. If the landing link is placed it in the browser's string and accessed directly the error will be displayed. It will not be possible to see the content of landing page or any part of its code which basically means that no competitor's spy tool is able to reach your page.
From the technical side BeMob Landing Page Protection is based on the process of calculating the time difference between a moment when a user has been initially redirected to your landing page to the moment of his actual visit to this landing page.
If you use the No-Redirect Tracking when the landing page URL is used as the campaign URL it is not possible to apply the LP protection script.
These two methods are going against each other.
Landing Page Protection settings consist of 2 parts: the code configurations on the side of your landing page and settings on the side of BeMob.
¶ Code Configurations on Your Landing Page
1. Access the code of your landing page.
For this you may need to download the page from the hosting service, then open it via any code editor such as Notepad, Sublime Text, Atom.
2. Log into BeMob panel.
3. Access the Settings → Security
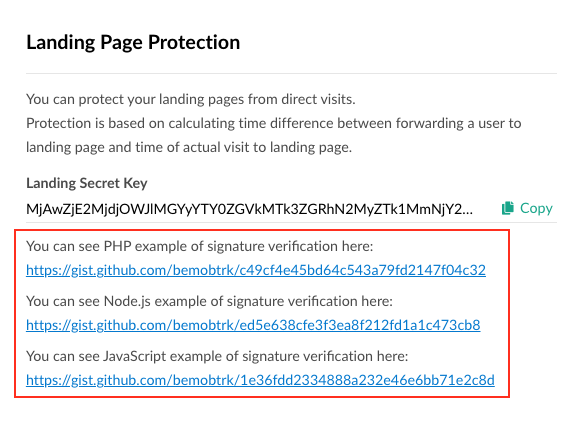
4. Find the Landing Page Protection option.
You can see the samples of PHP, Node.js, JavaScrip signature verifications which will help to set up the protection on your landing page.
5. Click on Copy button next to the Landing Secret Key.
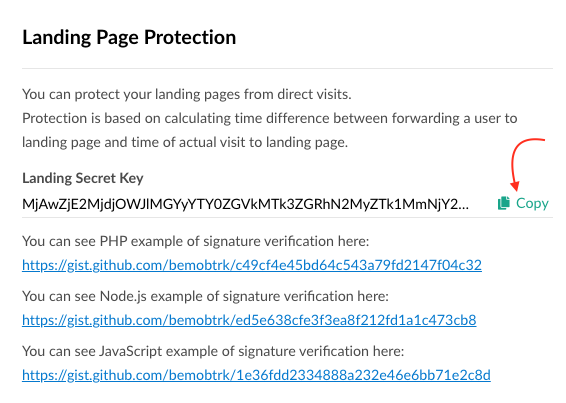
6. Paste Landing Secret Key inside the code of your landing page.
Each time your landing page is accessed directly not via campaign URL, the access error will be displayed.
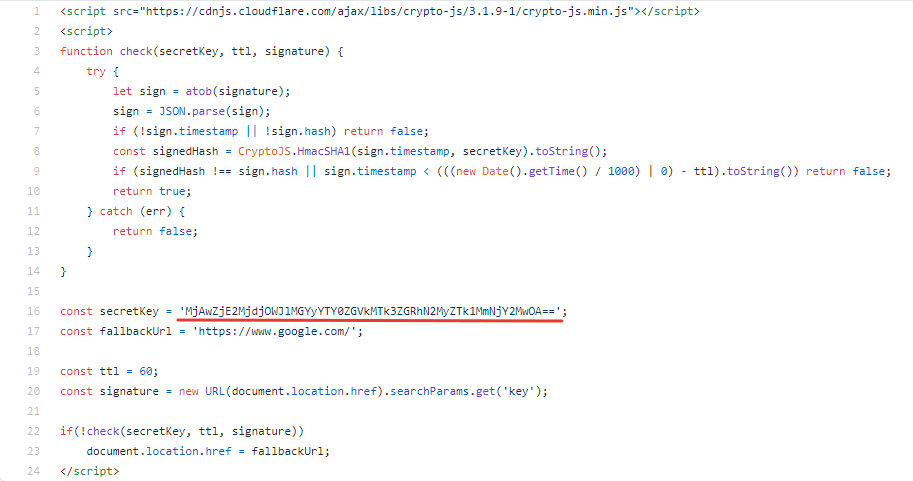
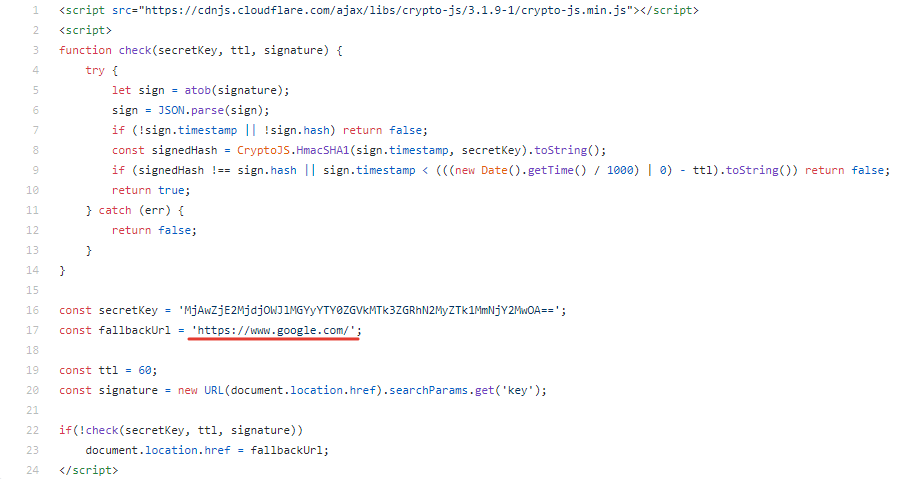
If you use the JavaScript method, it is possible to specify the fallback URL which will be displayed instead of the error.
On the example below we use https://www.google.com as the page that will be visible instead of the access error.
7. Set up the TTL (time to live) of signature and add the unique key.
TTL defines how long the signature should be valid. Supported formats are described here.
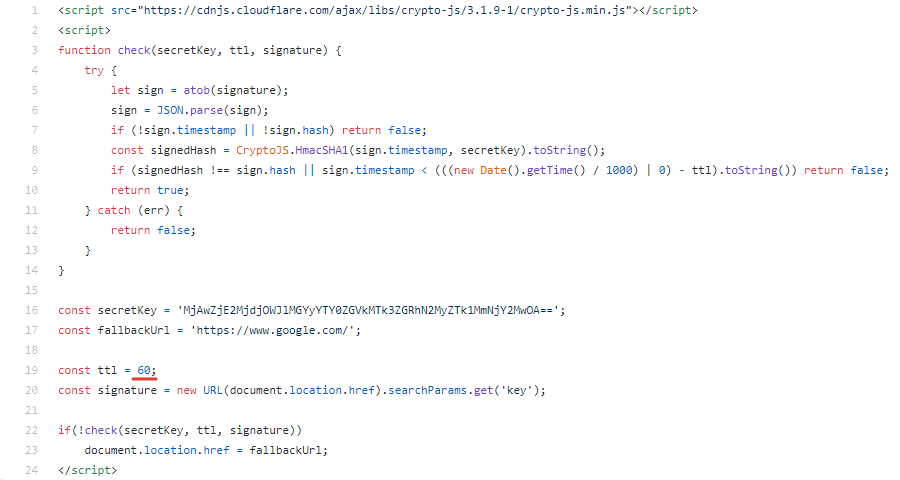
When TTL is set up to 1 minute, it means that when a visitor remains on your landing page more than 60 sec and then the page is refreshed, he will be redirected to any URL you specify in the script as fallback.
If you specify no fallback URL the access error will be displayed once the page is refreshed.
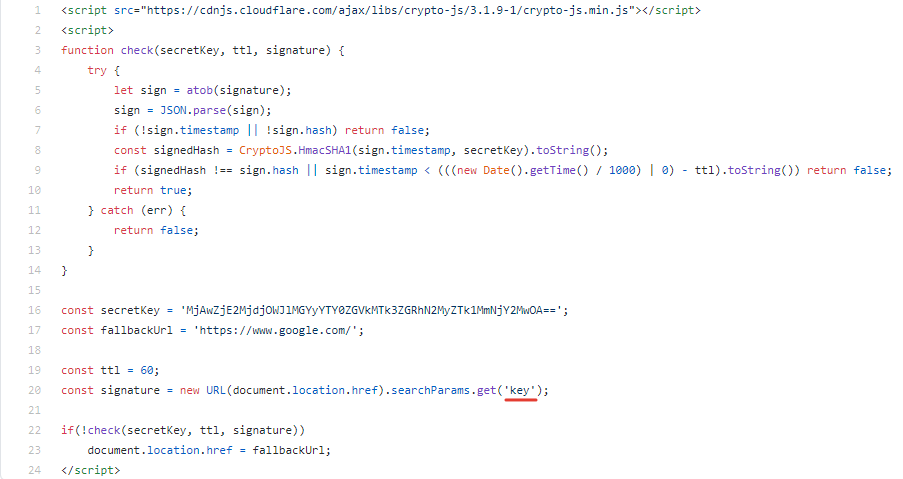
8. Introduce any GET parameter.
On the example below we use key as GET parameter but it can be any value you decide to specify.
9. Save the code settings and upload the landing page back on your server.
¶ Settings in BeMob
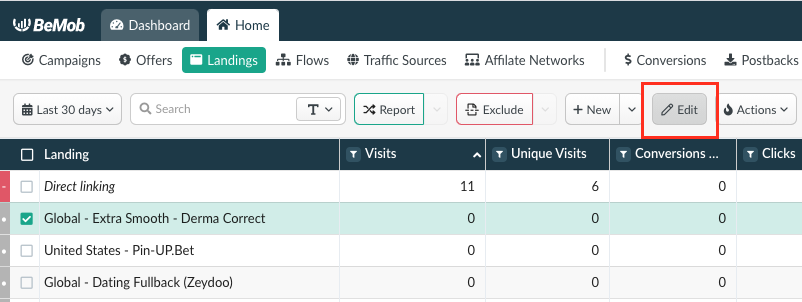
1. Access the Landings section.
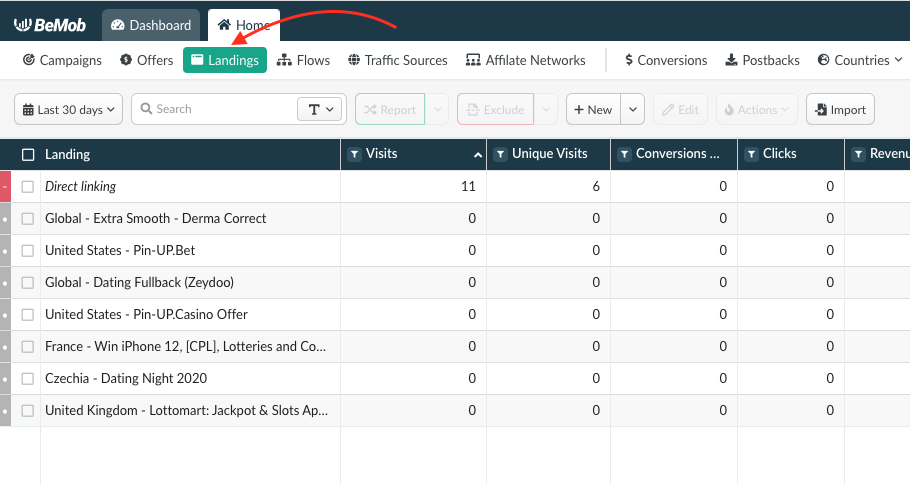
2. Click on the landing page which you're willing to protect with the script.
3. Add GET parameter along with {landingSignature} token at the end of your landing page URL.
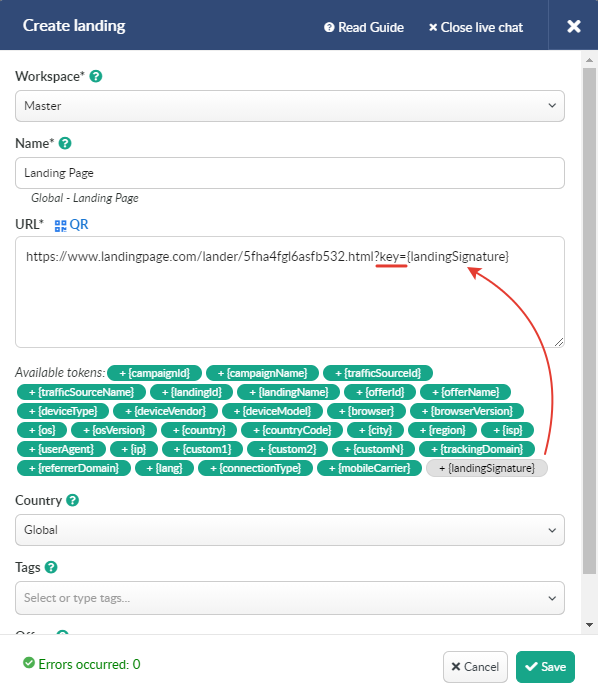
4. Store the landing page settings by clicking on Save button.
After all the settings are finished you can move on to the campaign settings.
Learn more on these settings in Campaigns section.
💡 If you have any questions or need the assistance with the settings, contact our support team through the live chat or at support@bemob.com