The impressions tracking is available with BeMob. An impression is counted when an ad banner is loaded on a web page.
Impressions data are considered as events with BeMob. Once you decide to track them, make sure your pricing plan includes the sufficient events amount.
🔴 Important: Your traffic source platform should support the impression tracking. Otherwise the impression data will not be registered on the side of BeMob. We recommend to clarify the ability to track impressions with your traffic source before setting up.
To track impressions with BeMob, this option should be active on the level of traffic source settings. After that you will need to configure your ad campaign correctly so that impressions tracking will be supported for a particular campaign.
Let's see how this can be done.
¶ Traffic Source Settings
This is the first step from which you should start from. To pass the impressions data from your traffic source to BeMob you will need to enable the impressions tracking option on the level of traffic source settings.
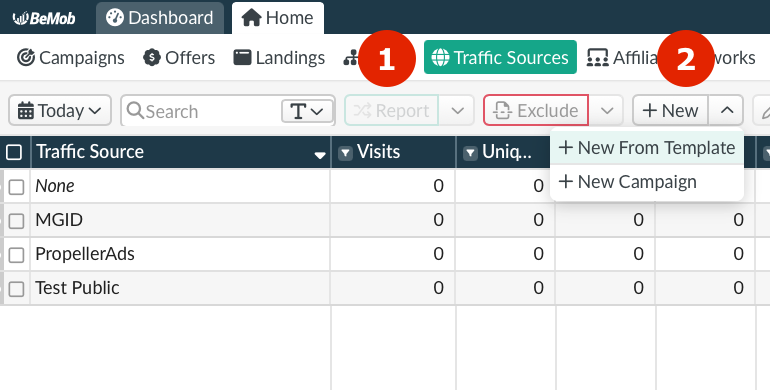
1. Access the Traffic Sources tab. Click New or New From Template button.
New button should be clicked if you wish to configure a traffic source from the scratch.

Once New From Template button is clicked, you will see the list of templates.
This list contains the traffic sources for which our team have already added all required tokens and postback URL, if it is supported with a selected traffic source.
We recommend to use our preconfigured templates to avoid the errors which will lead to further issues with tracking the data.
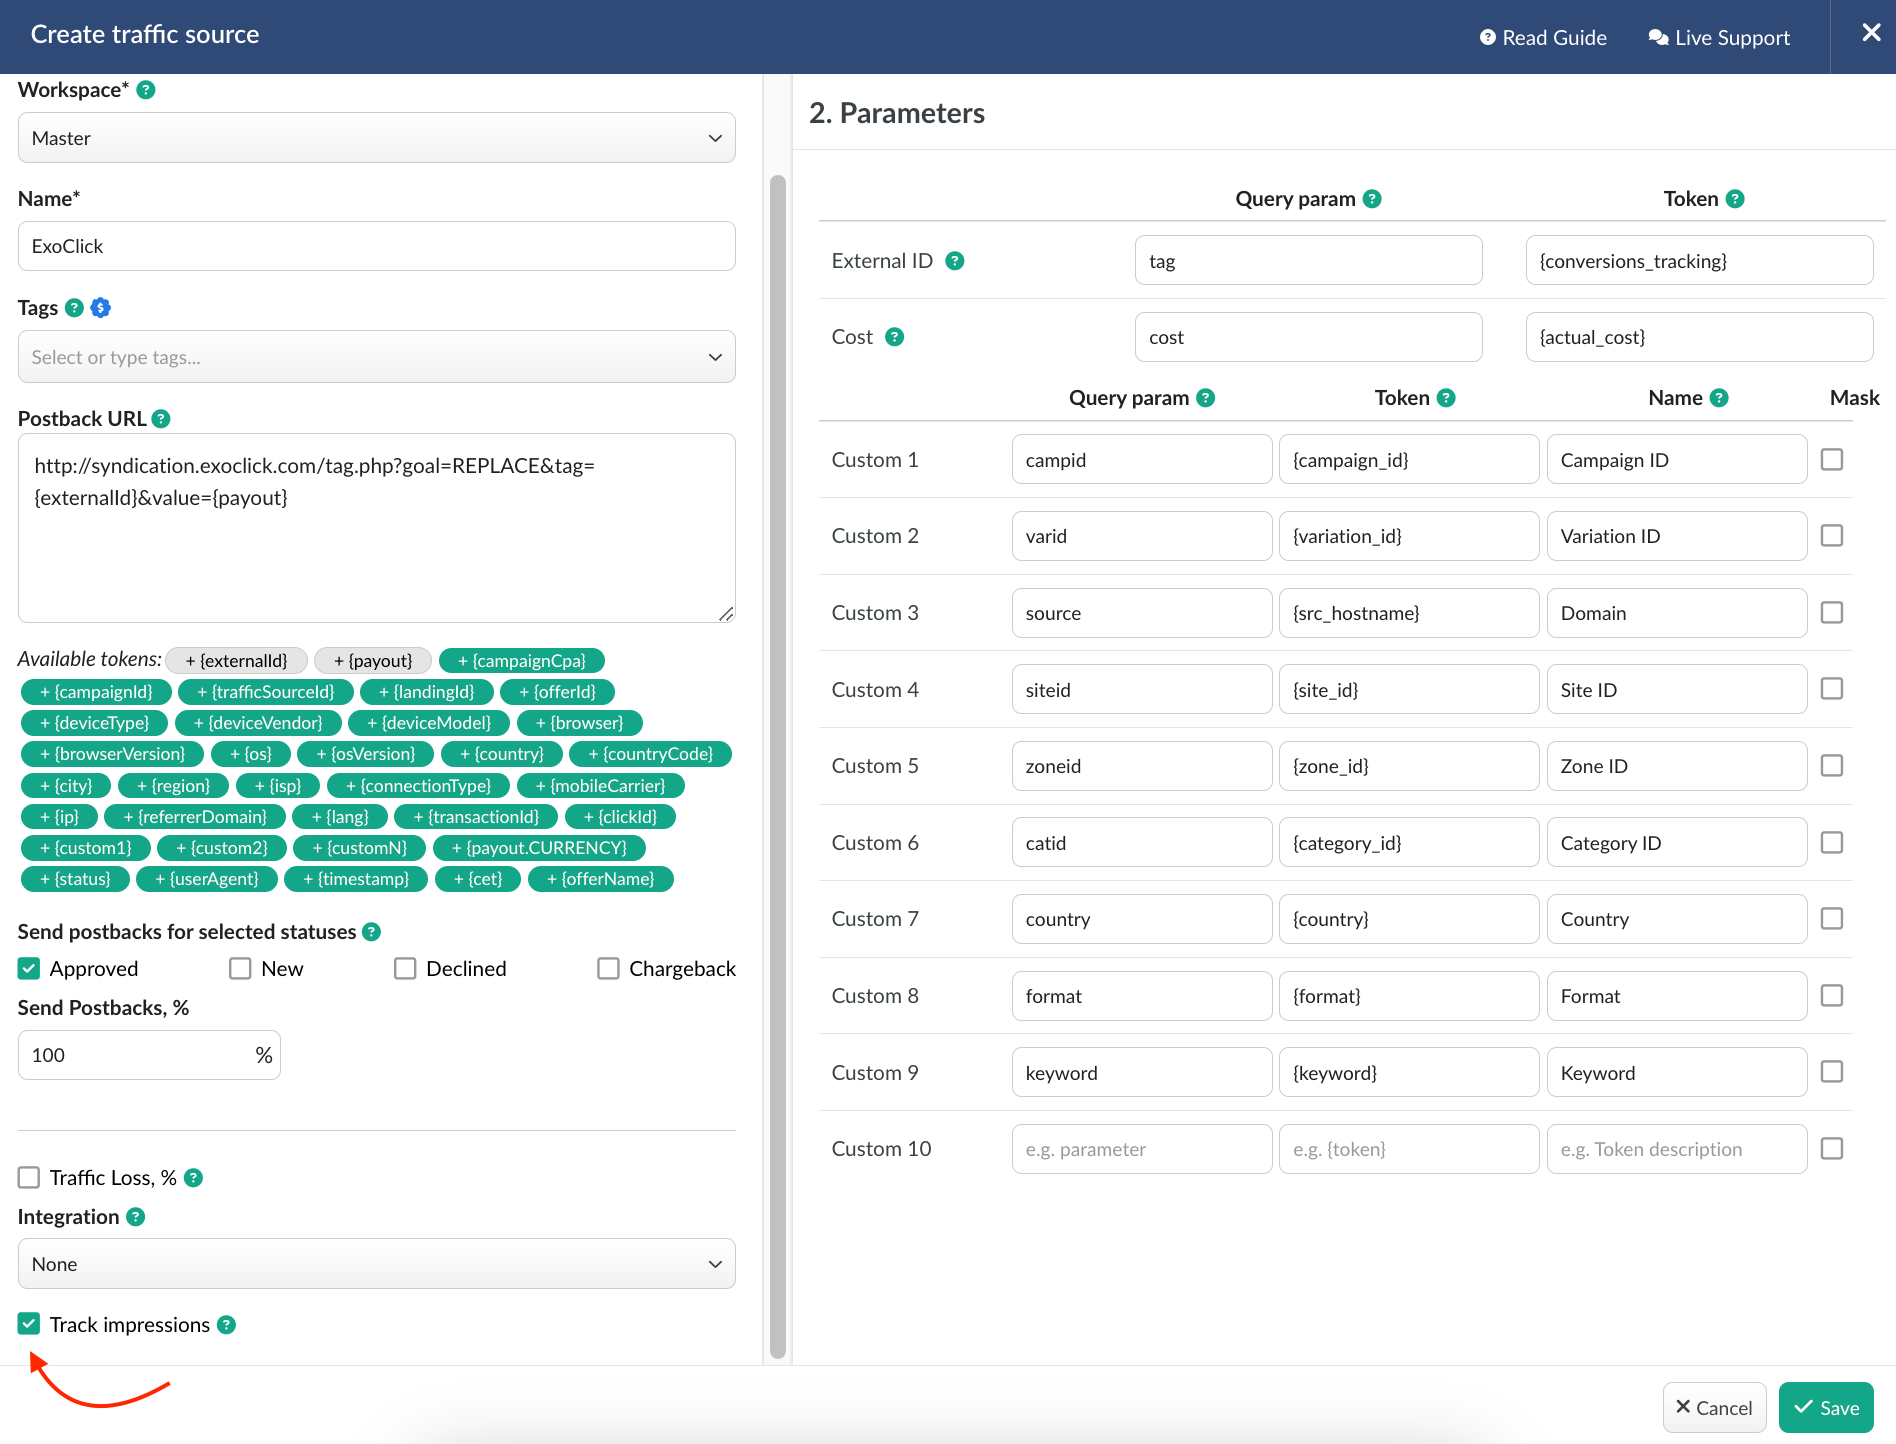
2. Mark the checkbox with Track Impressions option in the appeared window.

🟢 With this option active on the level of traffic source settings BeMob will generate the corresponding links which will be needed further for correct impressions tracking for a particular campaign.
3. Complete the postback and parameters field according to the requirements of your traffic source. If you're using the pre-configured traffic source template you will need to make sure the postback is completed correctly.
4. Press Save to save the settings.
If you wish to configure the impressions tracking for a traffic source which have been added previously, you will need to select it from the list of existing traffic sources and click Edit button.

These actions complete the settings at the traffic source level. Next you will need to continue with all of the configuration steps at the campaign setup level.
¶ Campaign Settings
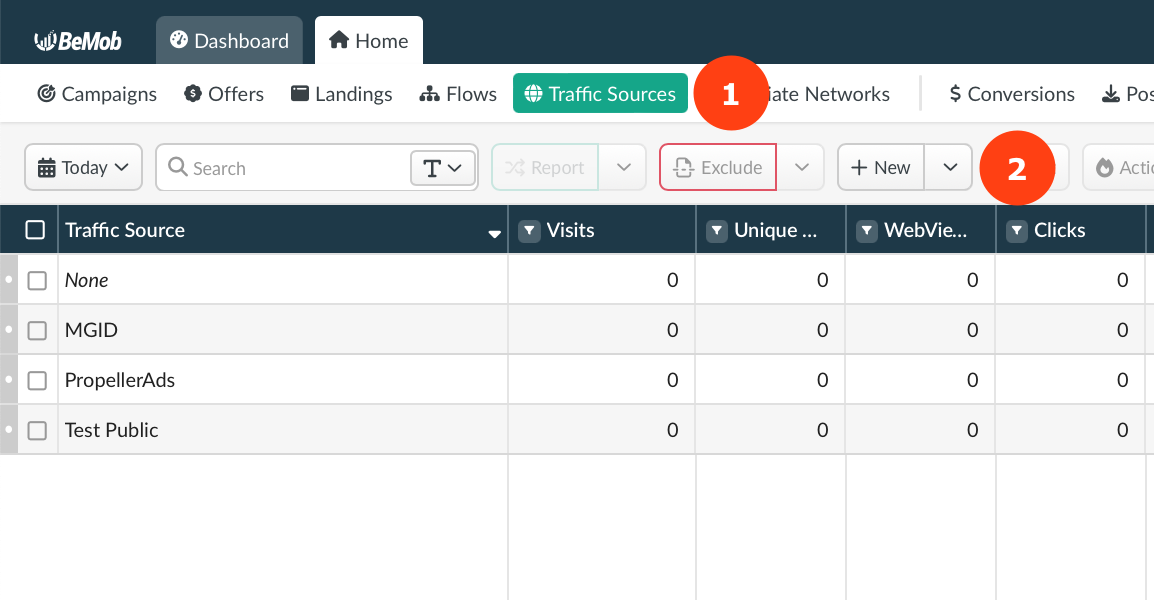
1. Click on Campaigns tab. Press New.
2. Select the traffic source for which you've previously enabled the Impressions tracking.
3. Select the cost model of your campaign.
CPM or Auto CPM should only be used if you buy the traffic according to this cost model and if your traffic source supports the impressions tracking which have been mentioned at the beginning of the guide.
🔴 If you pay to your traffic source for campaign, then CPV model should be selected.
When selecting CPM, you will need to introduce the cost per thousand of ad banner impressions in the appeared field.
Campaign Links
Impressions in BeMob Reports